
Diamond painting can be super relaxing and rewarding, but running into mistakes makes things less fun. Preventing common errors is the key to keeping your project looking awesome and saving yourself a bunch of frustration. Whether you’re tackling your first kit or you’ve stuck thousands of drills before, there are some handy tips and tricks that really help keep things on track. This guide is all about avoiding diamond painting errors and fixing issues before they become big headaches.
Diamond Painting Basics and Typical Mistakes
Diamond painting is basically a mix of cross-stitch and paint by numbers, but you use tiny resin drills instead of thread or paint. Every color has its own code, and each little square on the canvas matches a symbol for a drill. The process sounds simple, but the details matter.
Some mistakes don’t show up right away, but they make finishing your painting a lot tougher. Over time, glue exposure or drill mishaps can mess with how your finished piece turns out. Understanding the steps and potential pitfalls from the start goes a long way toward avoiding those “oops” moments. Taking a little extra care with each step can make all the difference and ensure your art turns out looking as eye-catching as you imagined. Often, new crafters underestimate how organizing the setup contributes to the final look. By checking in on your supplies and setup at the very beginning, you’re setting yourself up for a much smoother adventure from the get-go.
Ready, Set, Paint! What to Plan Before You Start
Getting your setup right from the beginning solves a lot of problems before they even start.
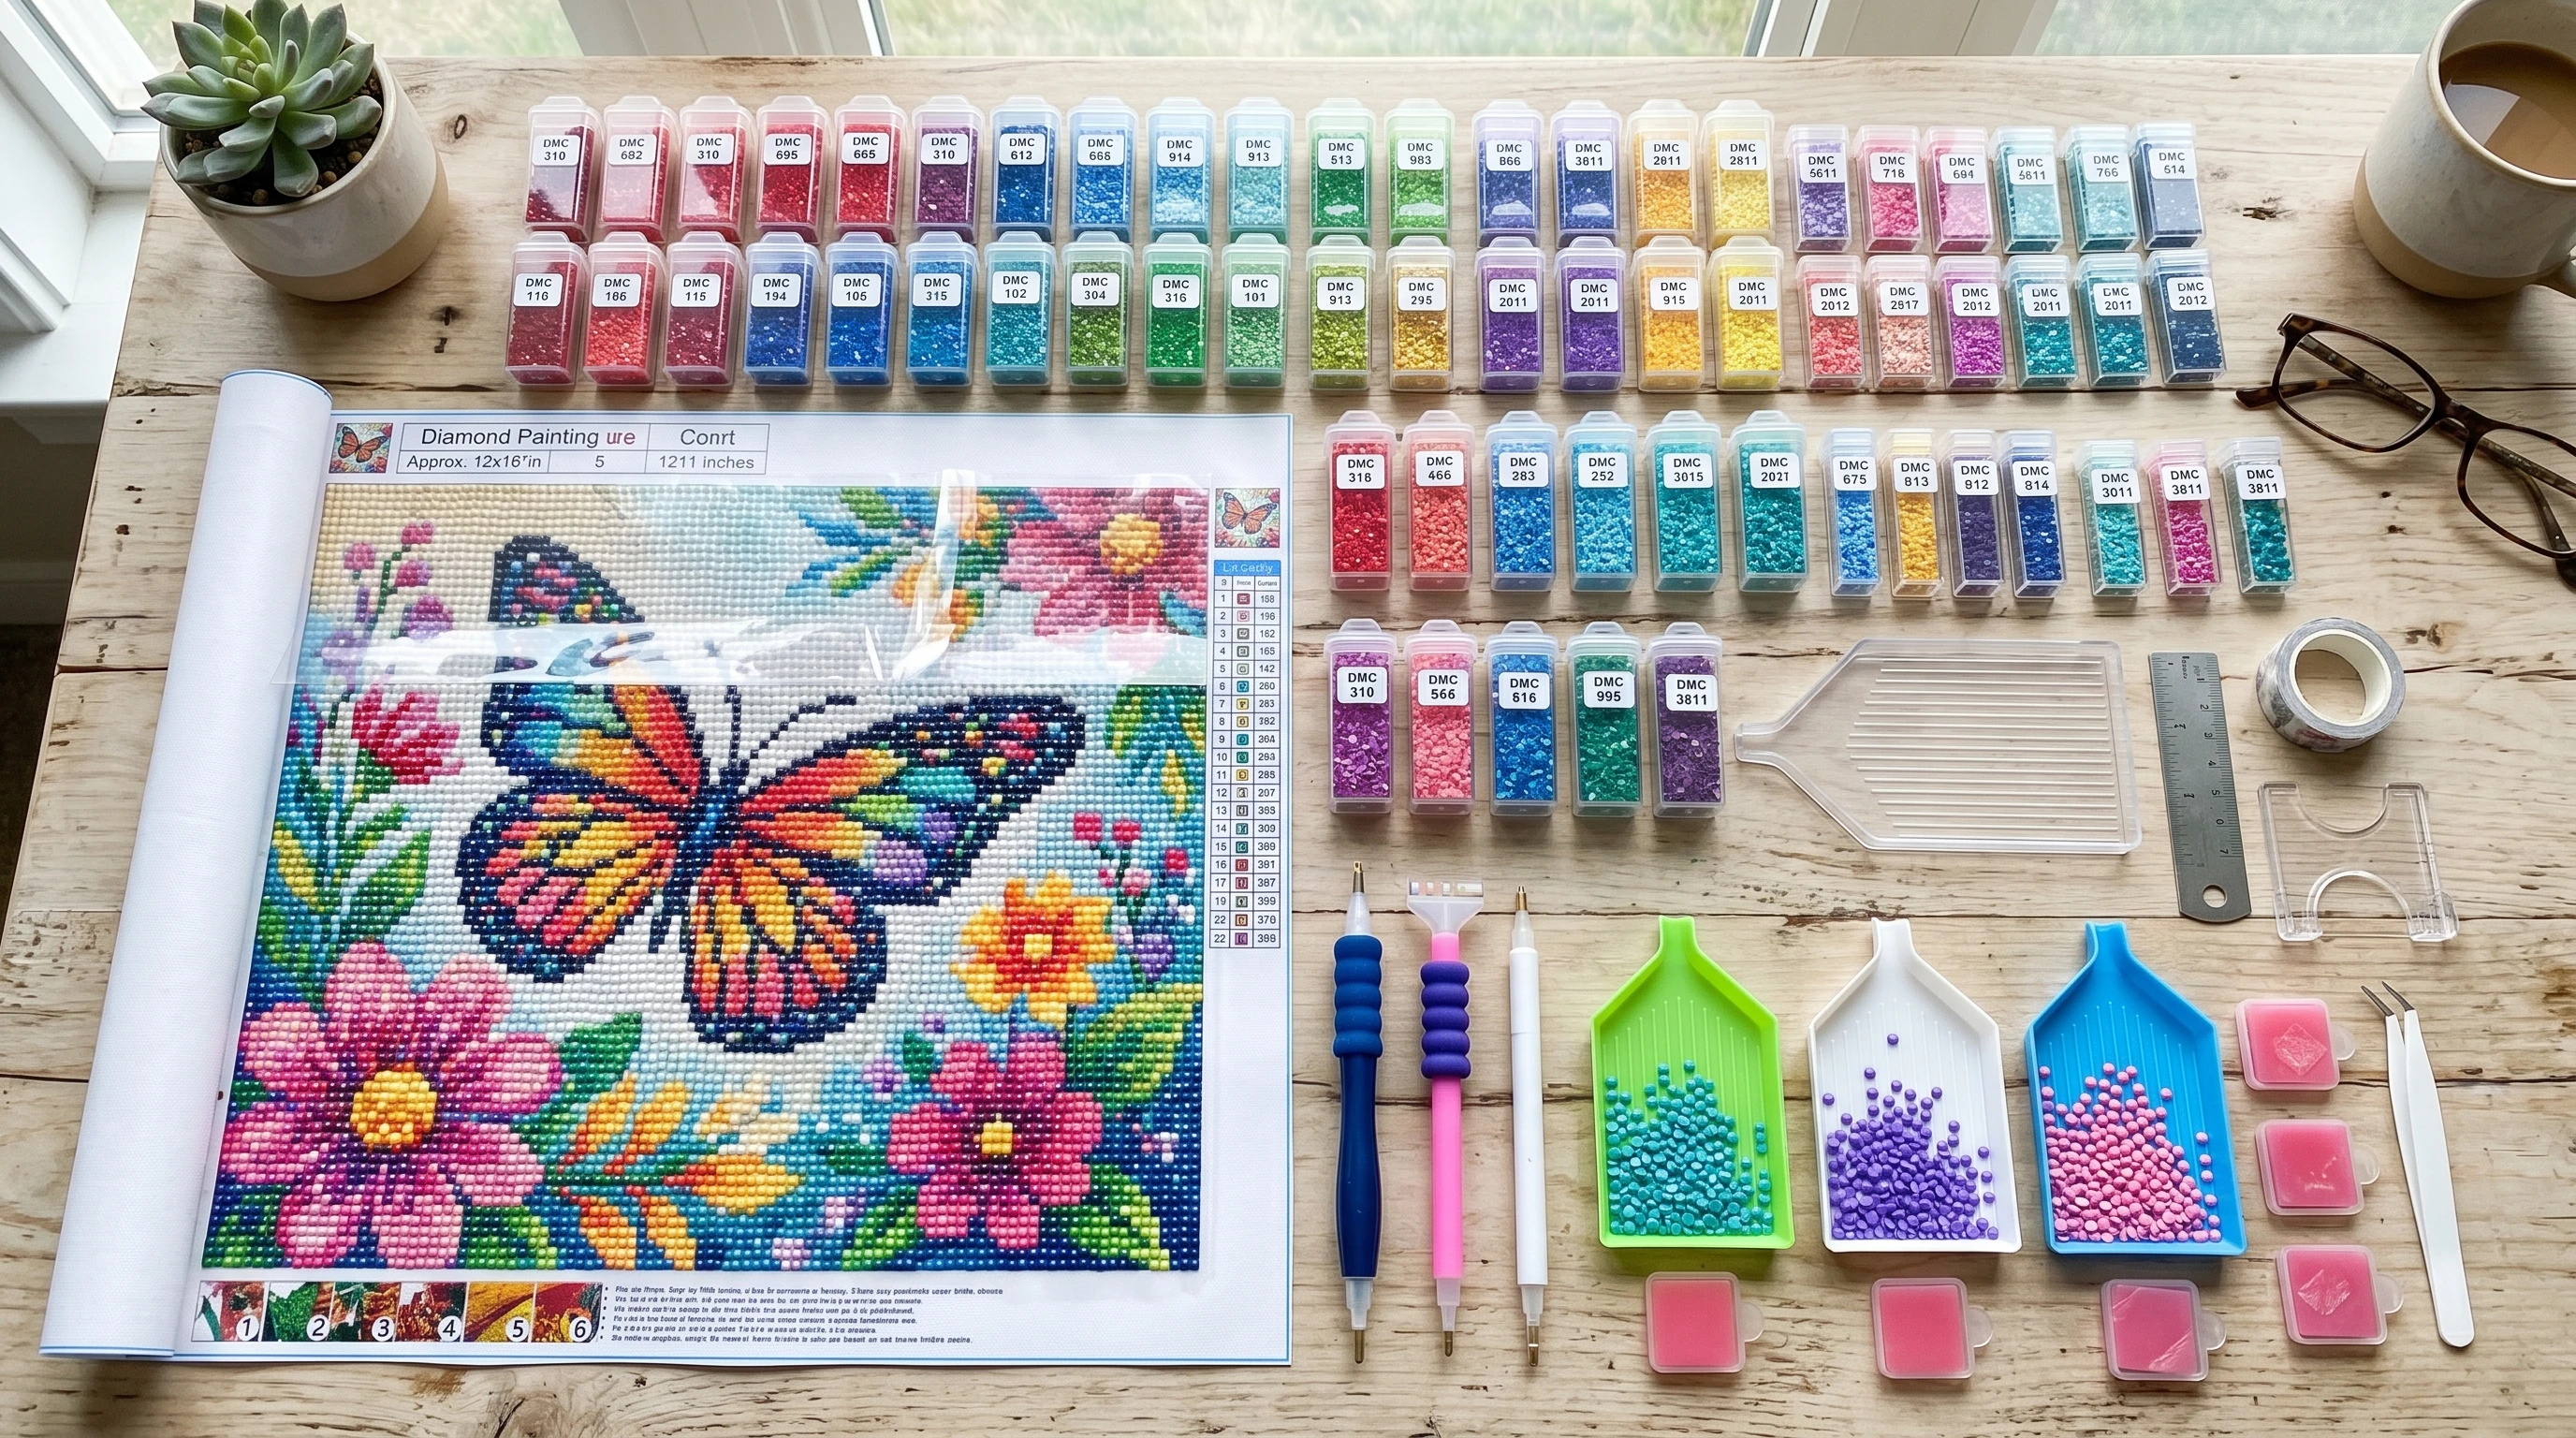
- Sort your drills: Before you begin your project, pour each color into its own separate storage container. It’s a lot easier to spot the color you need and helps keep things organized. Be sure to label each storage container with the right color code from the legend on the canvas.
- Work in sections: Peel back a small part of the protective film at a time, only in the area that you are working. This stops dust from getting on the canvas and keeps the adhesive sticky.
- Double-check the legend: Before pouring out drills, make sure the number and color code match the canvas key. It sounds obvious, but it’s an easy thing to miss if you’re excited to jump in.
- Pick the right surface: Use a stable, flat workspace with good lighting. A light pad is a nice add on if you’re working in the evening or your canvas symbols are tiny and hard to read.
With these steps, you’re less likely to accidentally pick up the wrong color, get the chart mixed up, or end up with lint and pet hair stuck in the glue. Simple stuff, but super important.
Common Diamond Painting Problems (and How to Avoid Them)
Even with lots of care, sometimes things still go wrong. Here are some really frequent problems, plus easy fixes for when they pop up:
- Spilled drills: Keep your trays on a nonslip mat or a towel to cut down on sliding. If you do spill, a lint roller or a piece of sticky tape grabs most of them up without hassle.
- Static electricity: Drills can get clingy and float away on static charged trays. Popping a dryer sheet into your storage box (or running one lightly over your fingers and tray) takes care of that very quickly.
- Wrong drills in the wrong spot: Using tweezers or the flat edge of your applicator pen lets you gently pry off the misplaced drills. Be careful not to scratch the canvas when doing so.
- Crooked rows: The multiplacer tool straightens things out fast, especially if you line up against previous rows. For stubborn drills, push them back into line with a ruler or credit card edge.
- Hazy or cloudy canvas: Dust, fingerprints, or oils can mess with the stickiness before you even know it. Washing your hands before painting helps, and resealing the canvas with the protective film when you are finished working is always worth it.
Almost every diamond painting error has a practical fix, so mishaps don’t have to mean starting over. With a little patience and the right tools, most problems only set you back a few minutes. Plus, each fix is a learning moment, so you get better with every canvas.
What to Do If You Run Out of a Color
Running out of a certain color is actually pretty common, especially with kits that accidentally short you on some shades or if drills get spilled.
- Contact the seller: Most companies will send extra replacements if you reach out through their site or the platform you bought the kit from. Have your order number and the color codes handy (this is usually listed as DMC numbers on the chart on your canvas).
- Ask in hobby groups: The diamond painting community is super friendly. Posting your missing color in a group (like on Facebook or Reddit) often gets you a few extras mailed your way. Aside from getting your problems sorted, you’ll meet others who can offer tons of tips for your next project.
- Order matching drills online: Stores like Amazon, AliExpress, and specialty craft shops sell individual colors. Just type in your drill size (usually 2.5mm for 5D) and the DMC number that you need.
- Substitute from other kits: If you’ve done a few kits before and saved leftover drills, check for a match there. Some slight shade differences happen, but most kits use the standard color code system.
Having backups or a small “emergency drill stash” takes the stress out of running low. Also skipping ahead to work on other parts of the canvas while you wait for new drills to arrive helps keep projects moving forward.
How to Keep Drills Stuck to the Canvas
It’s pretty frustrating when drills pop off or don’t want to stick in the first place. Here’s what usually causes the problem, and what you can try to fix it:
- The canvas is too dusty or oily: Make sure you’re working with clean, dry hands, and avoid touching the sticky surface as much as you can. If the glue loses tack, try gently pressing with a baby wipe (not soaking, just a bit moist) to remove surface dust, then let it air dry for a few hours before pressing drills in again.
- The adhesive isn’t sticky enough: For very small spots, a tiny dab of craft glue (like tacky glue or a clear glue pen) will help loose drills stay put. Avoid using super glue or hot glue, because they leave residue that can be visible or damage the drill’s shine.
- The canvas was left exposed for too long: If the sticky layer dries out or dust collects on it, it’s hard to get drills to grip. Always be sure to cover the canvas with wax paper or the kit’s protective sheet whenever you’re not working.
Gently rolling a diamond art roller (a common diamond art accessory) over finished sections also helps press loose drills permanently into the adhesive, which is a quick fix before sealing your project. It gives everything a smoother feel and keeps drills secure for years to come.
Diamond Painting FAQ
What if I get the wrong color in a spot?
If you catch it early, tweezers or the edge of your applicator pen will let you nudge the wrong drill up.
How can I straighten a row if I notice it’s crooked?
Press a ruler or a credit card edge gently along the row and give it a little nudge. Working row by row and checking every so often helps keep things straight from the start.
Can I seal my painting to make it last longer?
Yes, using a diamond painting sealer (a common diamond painting accessory) after you finish holds everything into place and keeps drills from falling off over time.
Getting the Most Out of Your Diamond Painting Experience
Keeping things organized and going slowly makes diamond painting enjoyable instead of stressful. Most errors are easy to catch early and easy to fix with a little patience. Save your leftover drills for emergencies, always double-check the color chart before pouring, and keep your workspace free of dust and spills. With these habits, you’ll spend a lot more time admiring your finished piece than worrying about mistakes. As you pick up more tricks, each new project will feel easier and look even more eye-catching—and before long, you’ll be sharing your own winning tips with others.